Thin & Style Real-Hair Wigs: Pro Scissors Set Guide
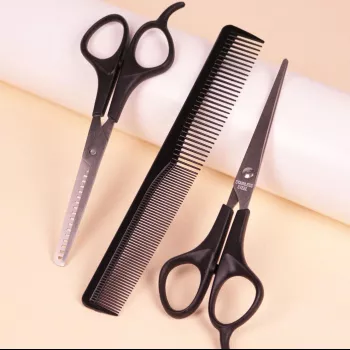
Professional Hair Thinning & Styling Scissors Set for Real Hair Wigs
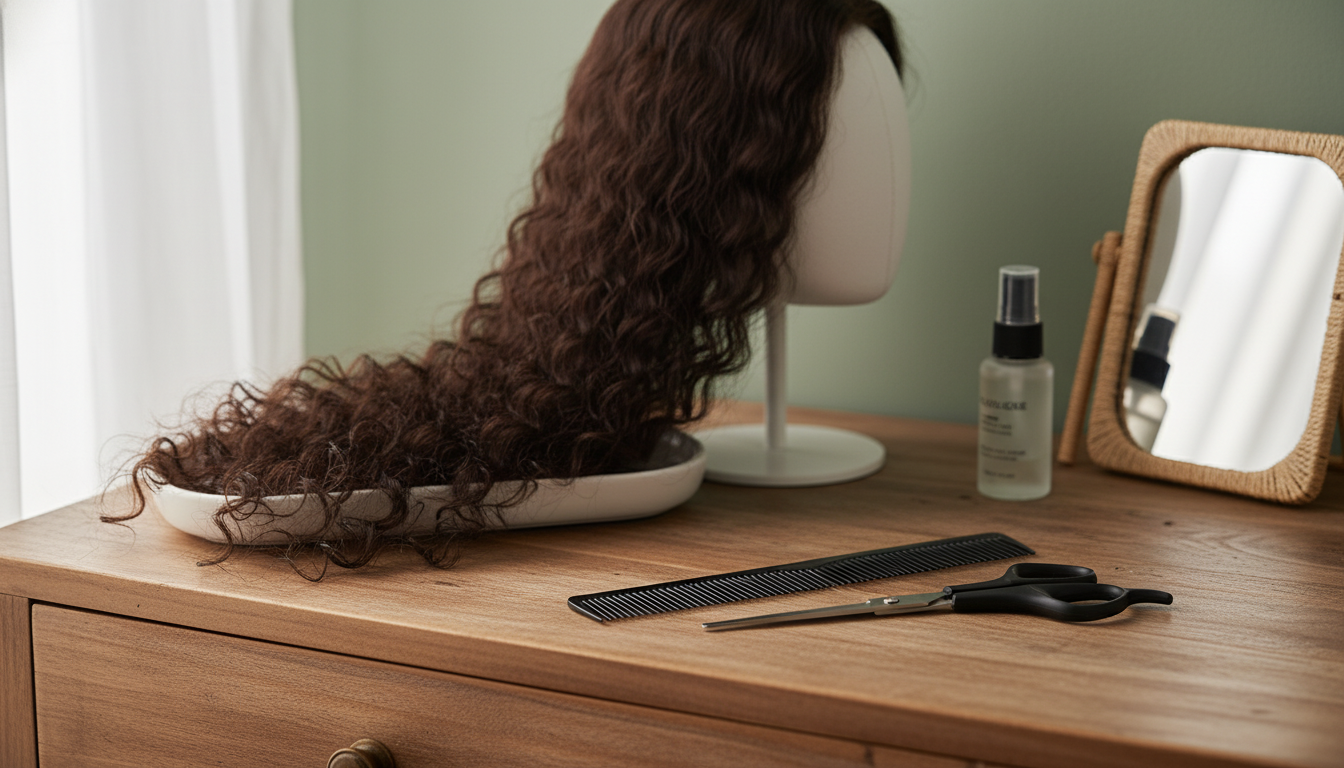
A real-hair wig can look instantly more natural when bulk is reduced in the right places and the cut lines are softened. A dedicated thinning and styling scissors set helps blend layers, remove weight without creating holes, and refine the hairline and ends with more control than standard household scissors.
Why thinning scissors matter for real-hair wigs
- Reduces density gradually so the wig keeps its shape while looking lighter and more wearable.
- Softens blunt lines at the ends for a less “freshly cut” look and easier blending with natural hair.
- Helps create face-framing movement and layered effects without over-shortening.
- Supports quick adjustments for fit and style when a wig feels too full at the crown, sides, or nape.
What a thinning and styling set is used for
- Debulking high-density areas (often crown, mid-lengths, and around the ears) while maintaining length.
- Blending between different lengths to avoid a visible step where layers meet.
- Detail work: refining perimeter, shaping bangs/fringe, and softening a wig’s silhouette.
- Light texturizing on ends to reduce “triangle” shapes and help curls or waves sit more naturally.
Quick specs and use-cases
- Use thinning shears for controlled reduction; use straight styling shears for clean lines and precise shaping.
- For best results, work on dry, detangled hair in small sections and check symmetry often.
- Avoid aggressive thinning near wefts/knots or lace edges; focus on mid-shaft and ends for safer blending.
Common wig adjustments and the right approach
| Goal | Best tool | Where to work | Technique cue |
|---|---|---|---|
| Reduce overall fullness | Thinning scissors | Mid-lengths, sides, crown (lightly) | 1–2 passes per section, then reassess |
| Soften blunt ends | Thinning scissors (light) or styling scissors | Last 1–2 inches | Point-cut for softness; avoid straight chopping |
| Blend layers | Thinning scissors | Transition zones between lengths | Use short, staggered snips; comb through each time |
| Trim bangs/fringe | Styling scissors | Front hairline area | Cut longer first; refine in tiny increments |
| Remove bulk at nape | Thinning scissors (very light) | Nape ends | Keep sections thin; avoid cutting close to base |
Step-by-step: thinning a real-hair wig without creating gaps
- Prep: Place the wig on a secure wig head, pin it, and detangle. Decide the target areas (usually sides and mid-lengths before crown).
- Section: Part the hair into manageable panels. Clip away what is not being cut to prevent accidental over-thinning.
- Start conservatively: Take a thin section, comb it smooth, and use thinning scissors mid-shaft (not at the base). Make one pass, comb through, and evaluate.
- Blend: Move to adjacent sections, keeping the same pressure and spacing. Compare left/right frequently to maintain balance.
- Refine ends: If the perimeter looks heavy, lightly texturize the last inch using small, spaced snips rather than repeated cuts in the same spot.
- Finish: Shake out, re-check density under different lighting, and stop early—additional thinning is easy; reversing is not.
Where not to thin on a wig
- Near lace fronts, closures, or knotting: cutting too close to the base can expose structure and reduce longevity.
- Directly on visible part lines: removing too much density in one line can make the scalp area look unnaturally sparse.
- At the same exact spot repeatedly: concentrated thinning creates holes and uneven clumps.
- On wet hair when unsure: hair can appear longer when wet, making it easier to remove more than intended.
Care, sanitation, and longevity of scissors
- Clean after each session: Remove hair, wipe blades, and sanitize handles and blades using safe disinfection practices. For general cleaning and disinfecting guidance, reference the CDC’s cleaning and disinfecting recommendations.
- Dry fully: Prevent corrosion and stiffness in the pivot area by drying the tool completely before storage.
- Oil the pivot: A small drop at the joint keeps the action smooth and helps reduce snagging on wig hair.
- Store protected: Keep scissors closed and stored away from other metal tools to avoid dulling and nicks.
- Sharpen as needed: If hair folds or pushes instead of cutting cleanly, the blades may need sharpening.
If scissors are shared in a salon or studio setting, follow appropriate workplace hygiene and exposure-control practices; OSHA provides an overview of relevant safety standards on its Bloodborne Pathogens page.
Common mistakes and quick fixes
- Too much thinning at once: Pause, brush out, and evaluate density from multiple angles before continuing.
- Choppy look on ends: Switch to light point-cutting with styling scissors and blend with minimal thinning.
- Uneven sides: Re-part precisely and correct with micro-adjustments rather than matching the heavier side by over-thinning both.
- Frizz or flyaways: Reduce repeated passes; focus on clean, minimal cuts and finish with gentle smoothing and proper wig conditioning.
When a set is especially useful
Shop in-stock picks
- Professional Hair Thinning & Styling Scissors Set for Real Hair Wigs — a practical two-tool combo for debulking and precise shaping.
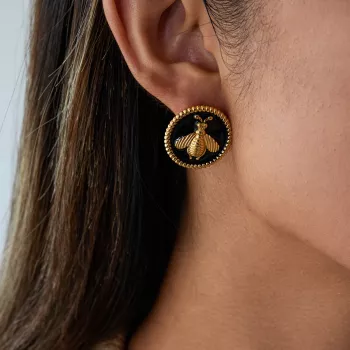
- Trendy Black Round Bee Stainless Steel Stud Earrings for Women — an easy finishing touch for wig looks and updos.
- Men’s 1.5 Inch Retro Genuine Leather Handmade Casual Jeans Belt — a simple styling add-on for photo-ready outfits.
FAQ
Can thinning scissors be used on a real-hair wig without damaging it?
Yes—when used lightly on mid-lengths and ends. Avoid thinning near knots, wefts, and lace, and work in small sections with one pass at a time so you can reassess before removing more hair.
How many times should thinning scissors go through the same section?
Usually 1–2 passes per section is enough. Repeated passes in the exact same spot are what most often create visible gaps and uneven density.
Should a wig be thinned wet or dry?
Dry is generally safer, especially for beginners, because length and density are easier to judge. Wet hair can look longer and flatter, which can lead to taking off more than intended.


Leave a comment